Project 3P, Part 18: Custom Built Extractors, Pertronix Ignition and a Whole Lotta Not Much Else! (Fiat 128 3P Restoration)
 |
| What used to be Derek C’s awesome two-door as click-bait! Apologies for the subterfuge. |
Readers might remember that Part 17 of P3P ended with a blown head gasket and a whole lot of ill-temper on my behalf. They’d also be excused for thinking that the entire project had been killed off in a fit of pique, given that the last update was way back in March of this year.
Not so! Admittedly, things have slowed down considerably but - despite a combination of parts unavailability, my mechanic’s calendar being chockers, Family Petrol Head deciding that the worst of Tasmania’s winter was to be escaped rather than endured and, to no minor degree, a residual degree of pissed-offness - there has been some progress. Not the head gasket, though! That’s the part we’re waiting for.
 |
| Header plates above and 128 manifold gaskets, used as templates, below. |
It’s not new news but the custom-built four-into-two-into-one - or “tri-Y” - extractors have been fitted. Kingborough Exhaust proprietor and principal pipe-man Kevin would have it that they were a pain in the arse to build, which they clearly were, but he quietly admits to being pretty pleased with the way they came out. I’m very happy with them; they’re as neat as one could hope for, they’ve given the exhaust a nice note and - as far as I’ve been able to test them, given that ****ing head gasket - they’ve added a bit of nippiness to what’s still a slightly underwhelming engine.

The build was a two stage collaboration between Derwent Park-based firm Dynamic Engineering and Welding (15/A Sunderland Street / 6272 2990), who laser-cut the header plates using 128 manifold gaskets as the starting point for a CAD design, and Kingborough Exhaust (18/52 Ascot Drive, Huntingfield / 6229 1146), who did the rest. For anyone who’s interested, Dynamic have retained the CAD cutting instructions and have my permission to reproduce them for anyone wishing to have their own 128 header plates made, thereby saving on the entirely justifiable but still quite expensive design component of the job.


Another significant upgrade was the installation of a Pertronix Ignitor electronic ignition kit, doing away with the points within the distributor and all the potential problems that they bring. According to Fogarty Automotive mechanic Chris (18 Wellington Street, North Hobart / 6234 8868), installation was very simple, involving a swap of the points for a breakerless substitute and the replacement of the original coil and plug leads with upgraded units. There’s no separate module to mount. The system came in at AU$460, plus $25 for postage and handling, from ProQuip International (14 London Drive, Bayswater, Victoria, 3153 / 03 9761 1565 / www.proquip.com.au).
ProQuip sales person Jonathan was a pleasure to deal with, taking the time to ensure that exactly the right unit was supplied. This took quite a bit of back and forth, sending photos and referring to various specs, as the 3P Marelli distributor isn’t the same as other 128s’ units are. Mine had to be sourced from the USA as none were available here in Australia.
So far, so good. The car starts immediately and idles beautifully. However, the full benefits are yet to be assessed. Yes - that freakin’ head gasket again!!!

There have also been a couple of very, very minor jobs that I’ve taken on myself. First, I made this quite nice pod to house the Veglia oil pressure gauge that reformed Fiat tragic Glen gave me from his long-dead 124 Sport Coupe. To my mind at least, it’s considerably nicer than the crappy pressed tin version available on line for near enough $90 and is way, way better value at about one hour’s worth of my time and some spare aluminium that I had lying around.
It’s likely that I’ll polish the gauge rim back to bare brass, as it won’t be mounted close to any of the car’s original black rimmed dials and therefore won’t clash. I think brass should look quite good but, if not, it shouldn’t be too difficult to restore it back to black.
And on the subject of oil pressure gauges, does anyone local - as in Australia or maybe New Zealand - have an oil pressure sender that they’d be willing to sell me at a sensible price? I found one from an X1/9 at an Italian car wreckers in Williamstown that I used to like dealing with but they were asking an exorbitant $225 for it and became rude - abusive, almost - when I made a counter offer. I liked it better when Joe ran the show. Apparently, the same sender is used in Lancia Monte Carlo S1s and Beta Scorpions, and is quite probably compatible with Fiat 124 Sports Coupes, too. As a guide, new ones are available from the UK for approximately AU$90, plus P&H.
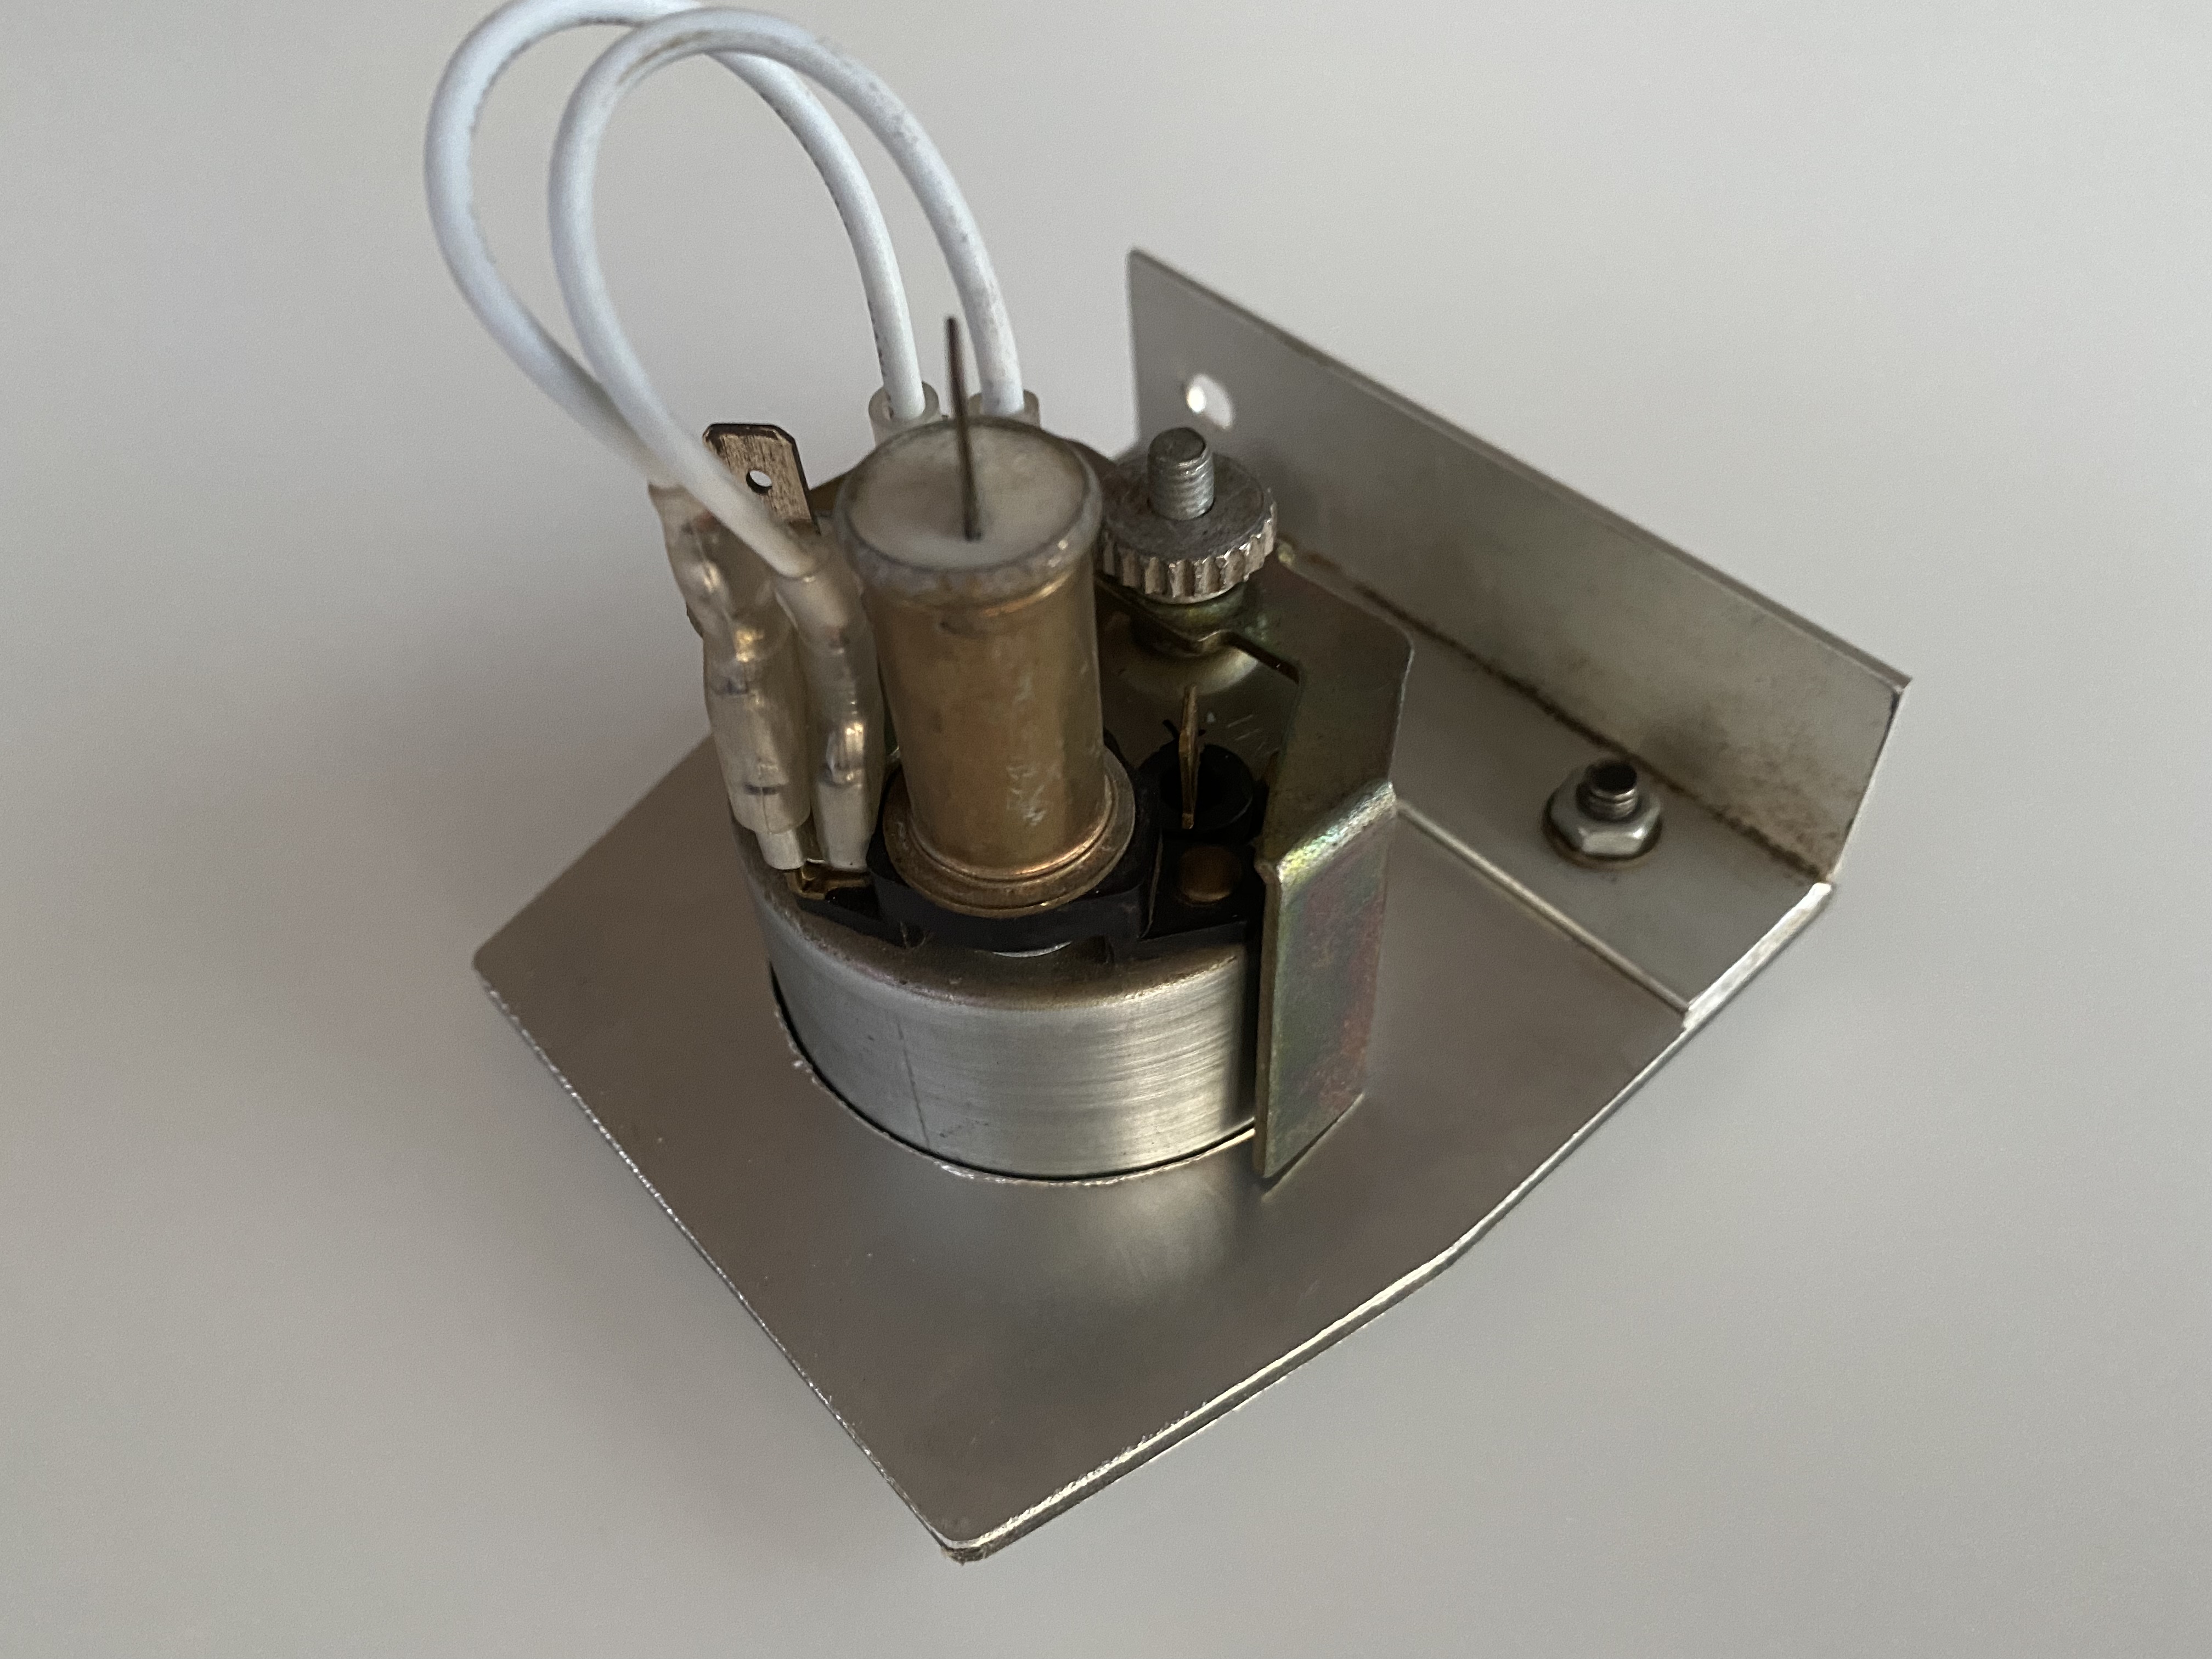


And last and probably least (admitting that the gauge pod may not have been an overwhelming achievement, either), I also wired a radiator fan override and relay. This is controversial in X1/9 territory, where I also spend time, but it makes sense to me.
One school of thought is that a properly operating thermatic fan in a fully functional cooling system doesn’t need an override, as it comes on automatically whenever it needs to. The opposing side in this sometimes heated (😂 laughing at my own jokes!) debate - the team that I barrack for - believes otherwise; we think that it’s better to maintain a constant airflow through the rad when the car’s stationary or working at full noise without necessarily travelling particularly fast, rather than having it fluctuate.
My experience is that when relying on the auto-function, the time between the fan kicking in gets progressively shorter and the temperature higher, quicker in between on / off cycles until the fan ends up staying on anyway. Then the engine gets dangerously close to overheating. Of course, my cars mightn’t have the very most efficient cooling systems ever but I’d argue it’s a brave person that puts too much trust in any older car’s mechanicals, let alone Italian ones! And it gets bloody hot in Australia!


Also, while I’m on the scrounge, might any locals have a 34mm Weber DMTR that they’d be prepared to sell? I’m hoping to replace P3P’s current 32mm DMTR with the slightly larger version - possibly re-jetted - and have the inlet manifold ported and polished. My thinking is that this should be any easy swap and not require any faffing about with linkages, etcetera. This will hopefully work well with the mild camshaft that I’m planning on, performing in concert with the aforementioned extractors and Pertronix kit. Please let me know if you can help.
U M P H
(uppermiddlepetrolhead.blogspot.com.au.)
iPhone images of P3P; blue 128 photo supplied by car’s previous owner.
PS: P3P still looks like this:


Comments
Post a Comment