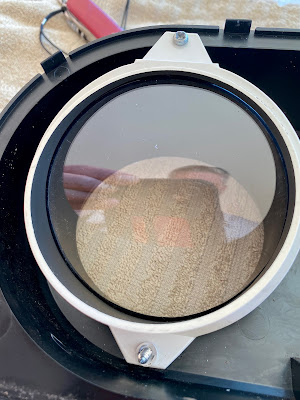
If you remember back to Part 11 of P3P, headlight restorer does not double as 46 year old Fiat 128 gauge lens restorer. It was worth a try!
 |
| Above and below: UV-damaged and cloudy A-F! |
As I indicated in Part 11, I consulted with The Keeper of The Cache - a well-known local Fiat, Alfa and Mercedes guru - to see if he had anything even vaguely less hazy than was fitted to my car. He didn't.
However, what he did have money can't buy: knowledge and advice! According to this sage of Italian and German marques (come to think of it, he's got a bit of a thing for Citroens and Peugeots, too), the plastics used by Fiat and Alfa in the mid-'70s, just after they ditched glass-lensed gauges, were particularly susceptible to UV damage and no amount of cutting and polishing will have even the slightest effect on them. Too bad I didn’t think to ask the question before embarking on my fruitless quest!
But that's where the advice kicked in: The Keeper knew just the man to make me new gauge lenses - Alistair - of local company Associated Plastics Tasmania (03 / 6272 0744 / info@associatedplastics.com.au). Better still, it turns out that Alistair's a fellow classic car junky with his own Fiat 126 and a Merc wagon, so I knew the job would be done properly!
 |
Old on the left & new to the right.
|
Fitting the new lenses was as simple as reversing the removal process (please refer to Part 10), with the exception that I needed to reattach them using screws because I had to drill the original brass rivets out. I screwed the uppermost fixings from the rear of the cluster and the lowermost ones from the cluster's front, as doing so saved the screw-threads protruding into or out of anything they shouldn't.
As you can see from the following photos, Alistair did an excellent job! The speedo and tacho lenses were fashioned from thin, flexible plastic to accommodate the horizontal curve on both, while the smaller ones - for the temperature and fuel gauges - were cut from perspex of the exact same thickness as the originals. All four are now faultlessly clear and super-legible. Thanks, Alistair!
 |
| The dust seen above and below is, fortunately, on the outside of the gauges! |
 |
| Back in the car! |
P3P's booked in next week for a sill patch and a new luggage compartment brace, and I've just fitted new side window seals (hardly post / photo-worthy, though!). A new hatch rubber is on order. After that? Who knows ... ? But I will keep you informed.
U M P H
(uppermiddlepetrolhead.blogspot.com.au.)
All iPhone images.


Comments
Post a Comment