Project 3P, Part 9: Bumpers (Fiat 128 3P Restoration)
 |
| Shiny and straight bumper with only minor rust stains from where driving lights had been mounted. |
I once made a serious tactical error, several beers into a work social event, suggesting to my bald-headed boss that his head was akin to a mudguard: all shiny on top but sh*t underneath. To his credit, he didn't biff me at the time, choosing instead to play the long game. 1985 was a very, very drawn out year!
P3P's bumpers put me in mind of Wayne's head. Quite shiny on top, but, rather than being faeces underneath, it was rust that contaminated what was below. It seems that this might be a common issue with Fiat chrome of the era, as both the replacement front 'bar and the rear one that came with the car are both similarly corroded, even though their outer surfaces are in remarkably good nick.
 |
| Above and below: a different story altogether, with some heavily pitted corrosion. |
Fortunately, P3P's bumpers are made of seriously thick steel, meaning that there's still plenty of meat on them. You only have to pick one up to realise that they are, quite literally, "heavy" duty items!
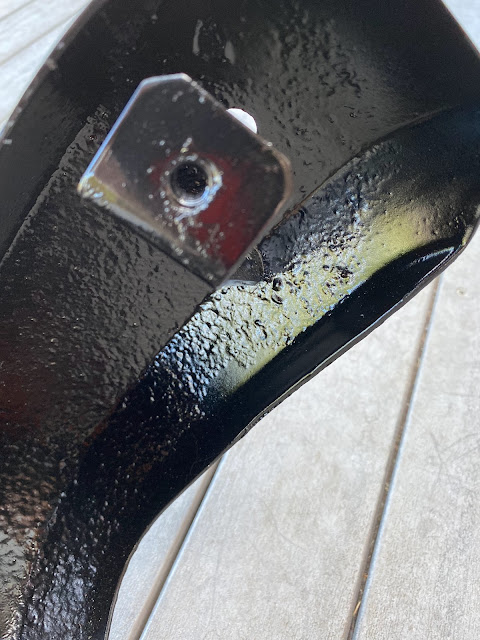
For not the first time in P3P's restoration, salvation came in the form of some very stiff wire wheels of varying sizes and configurations, a cordless drill, a good dousing of fish oil and a top coat of compatible paint. All the flakey rust was removed using the wheels and drill before the fish oil was applied, left to penetrate and cure in the hot sun for several days, and then painted over in black. As the following photos show, the inner surface is still heavily pitted but there's zero chance that they'll rust again!
The rear bumper also had a minor bend in its top, little more than a few mm high. Rather than bashing it into shape (maybe I learned something from Wayne, afterall!), I gently flattened it using the jaws of a large adjustable spanner. This generally works quite well for straightening flattish metal; all that's required is to tighten the jaws at the centre of the area that needs attention and to apply force against the defect, via the handle, until the desired result is achieved.
 |
| As-was. |
Care’s needed if there's more than a slight curvature at 90 degrees to the spanner’s corrective movement, though, as placing the distal ends of the jaws too far past the open edge of the surface being straightened may cause small dents. It’s also best to use a spanner with wide jaws; the broader they are, the better the force is distributed and the more likely it is that the defect will be corrected across the whole affected area, without waviness.
 |
| Fixed! |
(uppermiddlepetrolhead.blogspot.com.au.)
iPhone images.


Comments
Post a Comment