Final Touches: The Dashboard Doctor Challenge, Part III.

Notice anything missing? This, sadly, is the current state of the Upper Middle Petrol Head Galant: a big, shiny red expanse where the beautifully restored dash-pad should be.
And, yes, there is a beautifully restored dash-pad that could be covering all that red you see before you. The only problem is, the xxxxing thing doesn't fit! It's shrunk, you see, and so far all efforts to rectify the problem have failed ... .


Those of you that have read Parts I & II will remember that the first dash-pad that was sent to Melbourne for restoration - at not inconsiderable cost, it has to be said - had shrunk and warped to the point that it wasn't considered usable. Therefore, a second dash-pad was retrieved from a secret cache in Tasmania's deep south.

This second dash-pad wasn't perfect, either, but the Dashboard Doctor reviewed some emailed photos and said that it looked OK (please refer to Part II). It was duly dispatched to Melbourne.

UMPH was very excited when the newly restored dash-pad arrived. He has to admit that he wasn't disappointed when he opened the box; the result was, as far as he could tell, absolutely perfect, as the photos above and below show.


 |
| The metal bit that sits forward of the dash-pad, painted and ready for fitting. |
 |
| Satin semi-gloss finish over metal. |
However, UMPH's joy soon turned to profound disappointment when he found that the newly refurbished dash-pad was 20mm or so too short and, no matter how hard he tried, he couldn't make it fit. What was he to do?
 |
| Passenger's side (it should go almost all the way to the A pillar). |
He phoned the Dashboard Doctor, who suggested using a heat gun to stretch it. That failed.
 |
| Driver's side (worse still; the gap between the right-hand side of the dash-pad and the A pillar is even greater). |
According to the Dashboard Doctor, dash-pads that don't feature an internal metal frame are prone to shrinkage and may end up not fitting. Thanks, Doc; good to know that after the event!
 |
| Under-dash view showing the outer (lateral) edge of the dash-pad in relation to the metal framework of the dash, which should be on the outside of the frame. |
 |
| Underside view of the driver's side of the dash-pad, showing how much foam rubber was present. |
 |
| Underside view of the passenger's side of the dash-pad, showing how much foam rubber was present. |
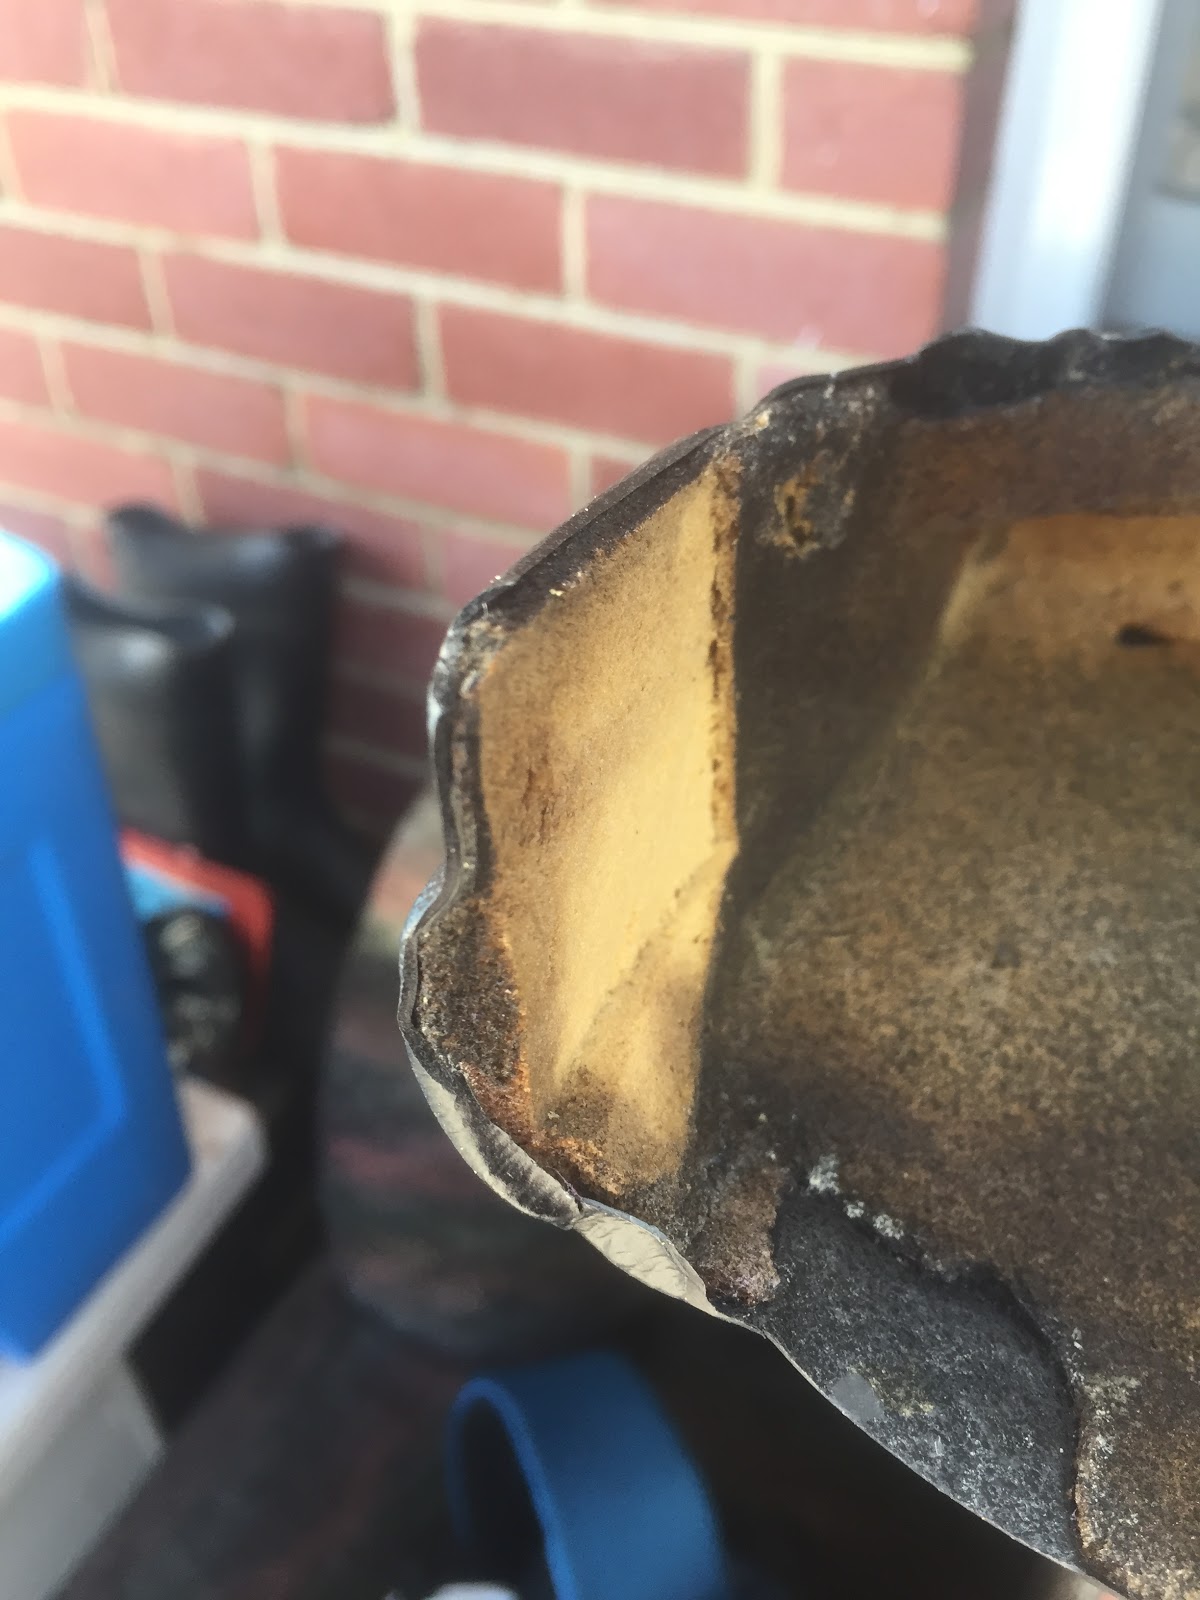
So UMPH resorted to surgery, dissecting foam rubber from the underside of the dash-pad like a Japanese 'researcher' flensing blubber from a defenceless minke whale. He cut it and cut it some more but it still didn't fit!
 |
| The beginning of what was to become an extensive flensing operation. |
 |
| Passenger's side, after extensive modification. |
Finally, he tried heating the dash-pad again, working on the theory that all his excavations might allow the vinyl to stretch a little further than his first attempt. Nope. Nothing. Still didn’t fit!
 |
| This is the edge of the instrument binnacle, showing how the foam was cut away to allow it to stretch with the outer layer of vinyl when heat was applied. This didn't help, either. |

 |
| The author, heat-gun in hand, totally failing to make the xxxxing dash-pad fit! |
Adding to UMPH's annoyance is that the Dasboard Doctor hasn't responded his emails asking if there's anything else that might be done to rectify the problem. It's an old car, so UMPH doesn't hold the Dashboard Doctor responsible. However, he doesn't think that a return email would be too much of an ask.
So what's next? UMPH hopes to salvage the dash-pad (it did cost $480 to restore, on top of $50 to buy it in the first place, plus two lots of not inconsiderable postage from Hobart!). He's considering cutting it in two, right through its centre, allowing it to cover the dash all the way to the A pillars and then disguising the resultant gap with a custom feature made of boat-grade vinyl. He's thinking that maybe some sort of red GT stripes with contrasting stitching over a white base layer might look good, wrapped over the dash-pad above the oil-pressure and voltage gauges.
If any readers have advice or ideas how else the problem might be resolved, please email (alastair.watson1463@gmail.com). Photos would be handy, too.
And, finally, please be careful if you're about to go down the dash-pad restoration path! Whatever you do, make sure the xxxxing thing fits before getting it done!!
U M P H
(uppermiddlepetrolhead.blogspot.com.au.)
All iPhone images.
PS: Standby for Part IV, in which UMPH hopes to finally triumph over automotive adversity and show you his newly fitted dash-pad, resplendent with GT-themed stripes!


Comments
Post a Comment