Project 3P, Part 15: Refurbishing a Cromodora Astro III Rear View Mirror.
 |
| Sadly, not my car! Sort of the same colour, though. |
While the eponymous Jeff, of Home Built by Jeff, shoe-horns a Ferrari V8 into an Alfa 105 coupe, and fellow YouTube maestro of metal Elin, of Elin Yakob's Rusty Beauties, resurrects various classic Triumph sports cars from little more than munted iron-oxide, here at Upper Middle Petrol Head I've repainted a mirror! But not just any old mirror! It is, afterall, a Cromodora Astro, as fitted to no less than the [Ferrari] Dino 208, 308 and GT4!
 |
| Yes, folks! That's 841 Euro Dollars. Let's not tell the Ferrari people what we pay for ours! |
It also was standard equipment for the Fiat X1/9, 127, 128 3P and early 131. But let's keep that to ourselves, shall we, seeing that €841 converts to a whopping $1,230 Australian!
Research suggests that there are three variations to the Astro - the I, II and III - although what the differences are eludes me. There's an all-chrome version, one that's black with a chrome arm and a black door-mount, and another featuring black finish on all three components. The one on my 128 3P - clearly stamped with the "III" designation - is of the black / chrome / black type, although I've also seen all-chrome examples marked exactly the same way.

The casing of my mirror was a bit scabrous, as is the rest of the car, but it was otherwise sound. The glass bit was perfect.
Disassembly was simple. Two Phillips head screws secured the mirror assembly to the door. With the mirror assembly removed, the mirror glass had to be gently prised away from the casing, using a small flat-bladed screwdriver.
Two more screws held the mirror casing to the arm. Removing these screws freed a scalloped metal plate and split plastic half-cup that fitted over the ball at the end of the arm. Pulling this cup off the ball allowed the arm to pass through the hole seen above and below.

There's also a ball and plastic half-cup arrangement on the bottom end of the arm, where it attaches to the door mount, the removal of which largely follows that of the casing end. It differs slightly in construction but is even easier to remove than the other end.
 |
| Above and below: Door end of arm, showing securing plate and split half-cup. |

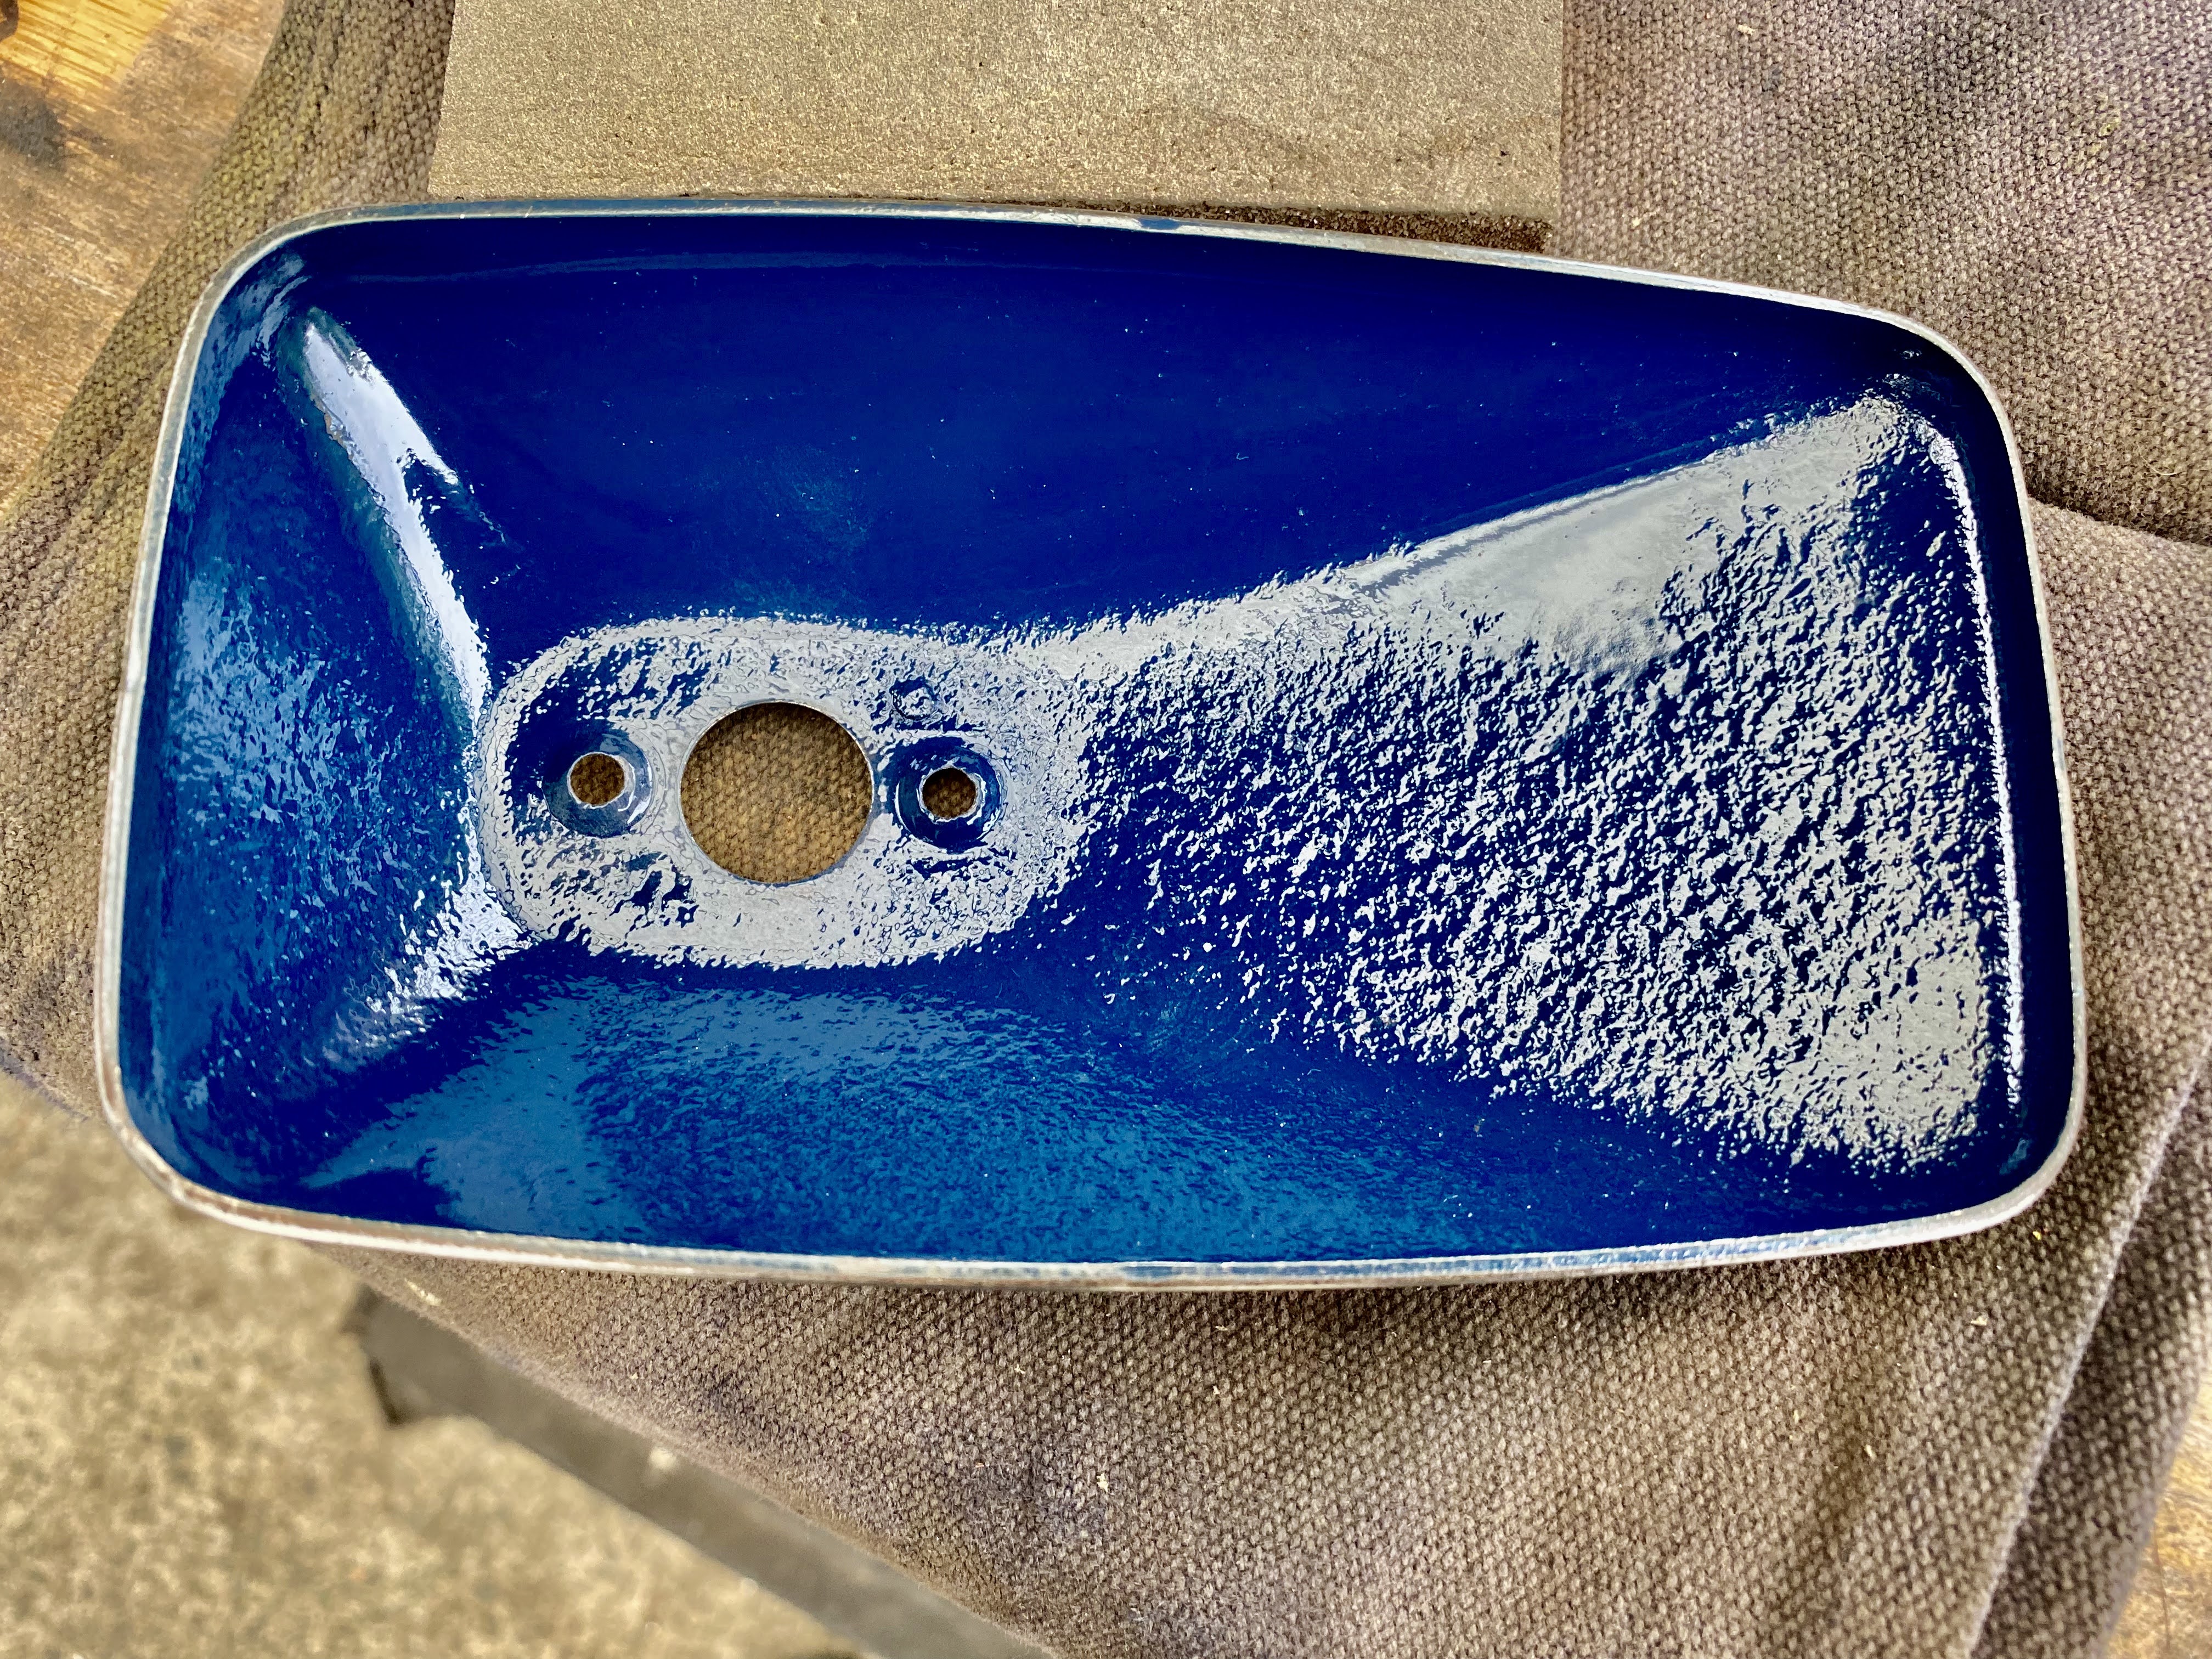
The outer surface of the 3P's mirror casing required a thorough sanding with 60 grit to get it to bare metal before finer grades of paper were used to refine the finish. It was given two coats of primer and a further two of satin black on the outer surface. The inner received a vicious wire-brushing and two layers of KillRust paint, in blue (that's all I had at hand). I gave the door mount the same treatment as the casing's outer but didn't need to so anything to resurrect the chrome arm.


 |
| Just like a bought one! |


Reassembly and refitting was a simple reversal of the removal and disassembly process. All up, the whole job - from taking the mirror off, through to prep, paint, putting it all together again and screwing it back onto the car - took less than a day. I reckon it was worth it, even if we Fiat people buy our mirrors from Midwest Bayless and don't pay more than US$50 (AU$68) for them!
U M P H
(upperemiddlepetrolhead.blogspot.com.au.)
iPhone images.


Comments
Post a Comment